Before you commence, you should verify that the PACS server and RadiAnt are properly configured. Please refer to the advanced section of this manual for configuration instructions. Sometimes, the configuration process may be quite complicated or even impossible without the technical support of the vendor of your PACS server.
1. Click the Local archive button on the toolbar in the main window or use the F8 shortcut.

2. Click the PACS import button on the toolbar in the local archive window or use the Ctrl + F shortcut.

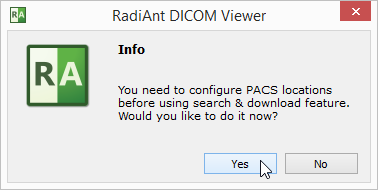
3. If the PACS host is not yet configured, a pop-up message will appear that asks you to add a new PACS host. Please refer to the advanced section of this manual.

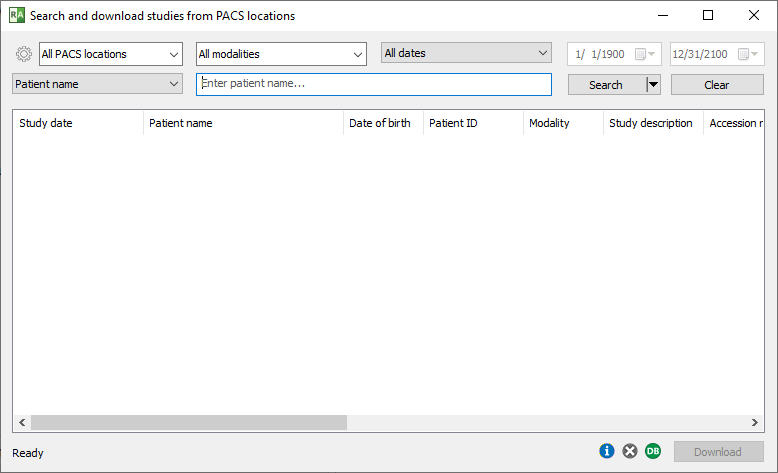
4. Once the configuration is complete, the PACS search window will appear.

5. Ensure that the option to import to database is enabled (green DB icon in the bottom-left corner).
6. Enter the relevant search parameters and click the Search button.
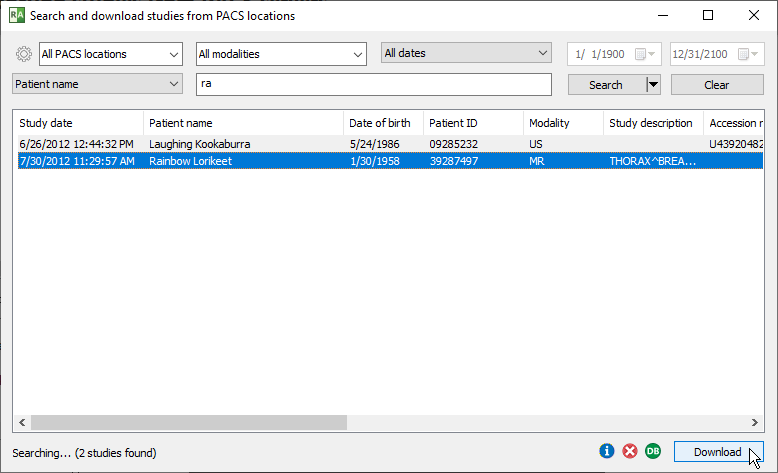
7. The results of the search will start appearing in the list. The number of studies found will be displayed in the lower-left corner. Select the study you want to download from the list and click the Download button or press Enter . You can also simply double-click the study to start the download process. Images of the study will be added to the database and displayed in a viewer window at the same time.

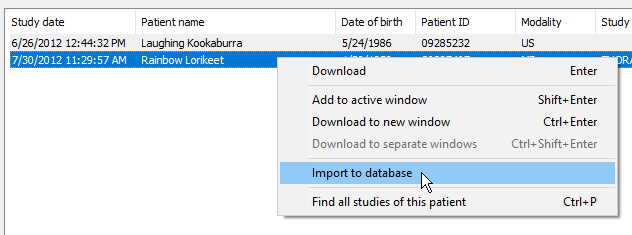
If you prefer to import studies to the database without immediately opening them in a viewer, right-click the selected study/studies. Select Import to database .
