The RadiAnt DICOM Viewer PACS client feature lets you search and download studies from PACS hosts (Picture Archiving and Communication System).
Before you begin, you need to make sure that your PACS server and RadiAnt are properly configured. Please refer to the advanced section of this manual for configuration instructions. Sometimes the configuration process may be quite complicated or even impossible without the technical support from the vendor of your PACS server.
1. Run RadiAnt DICOM Viewer by double-clicking its desktop icon.
![]()
2. Click the Download button on the toolbar in the main window, or press Ctrl + F .
3. If the PACS host was not yet configured, you will see the message asking you to add a new PACS host. Please refer to the advanced section of this manual.
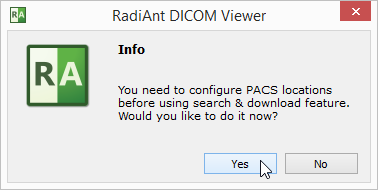
4. Once the configuration is finished, you will see the PACS search window.
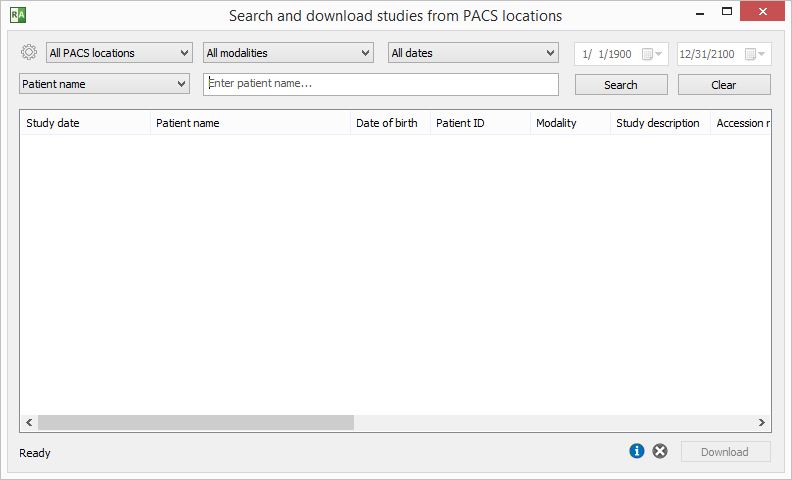
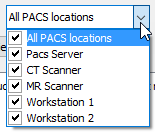
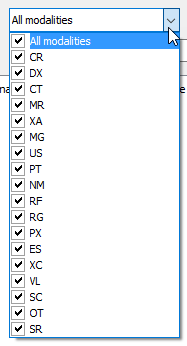
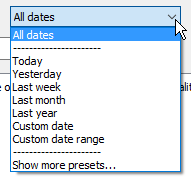
5. Select the PACS location(s), modality(ies) and date range.
|
|
|
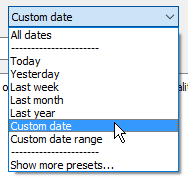
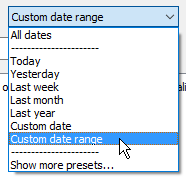
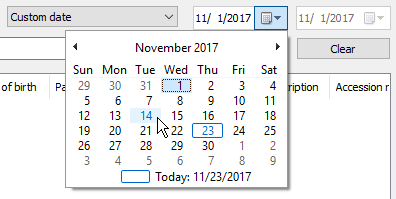
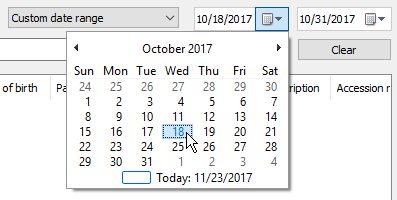
Preset, specific date or specific begin and finish dates can be chosen - just select Custom date or Custom date range .
|
 |
|
 |
6. You can choose one of the following main search field types: Patient name, Patient ID, Accession number, Study description, Referring physician, Performing physician, Reading physician, Institution name. Enter the text into the field and press Enter or click the Search button.
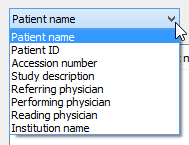

Custom main search fields can be added in the options.xml file.
7. Search parameters that are used on a frequent basis can be saved as search presets so that they can be quickly accessed from the drop-down menu located next to the Search button or via keyboard shortcuts.

8. The results coming from the server will start appearing in the list. The number of studies found will be displayed in the lower left corner. Select the study you want to download from the list and click the Download button or press Enter . You can also just double-click the study to start the download process. You can browse images of the study as soon as they begin appearing in the series preview bar.
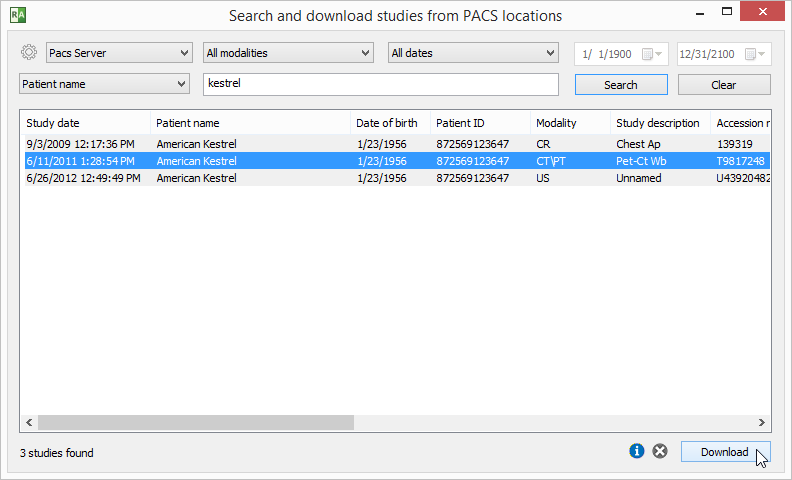
9. The status bar shows the number of received files, the transfer speed, elapsed time, and estimated time to finish.

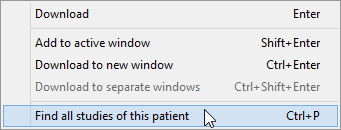
By default, the study will be downloaded to the active viewer window (if another study was previously opened in this window, it will be closed). Other download modes are available from the pop-up menu displayed after clicking the right mouse button on the selected study/studies. Click Add to active window or press Shift + Enter to download the study to the active window without clearing previous study. Click Download to new window or press Ctrl + Enter to open a new window and start downloading the study to it. Click Download to separate windows or use the shortcut Ctrl + Shift + Enter to download each of the selected studies to a new window.
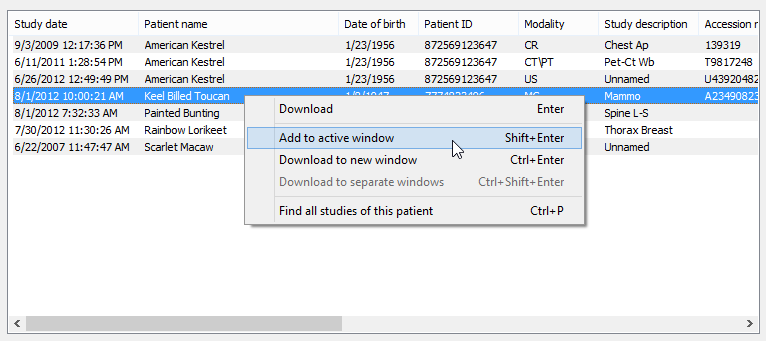
You can search all studies of the selected patient (that is, studies that have the same Patient ID field) by clicking Find all studies of this patient in the pop-up menu or pressing Ctrl + P .
You can stop the download process at any time by clicking the stop icon or using the shortcut Ctrl + Del .

To reset the search fields, click the Clear button.

Press the Info icon or use the shortcut Ctrl + L to show the list of active and finished downloads along with detailed statistics and status messages.
![]()

